Your air leakage score is a core part of your finished build. Read our top ten tips for improving your air test score.
Maintaining firm control of your air leakage is a key step when it comes to achieving the level of energy efficiency set out by Building Regulations. This is why (with a handful of exceptions), new dwellings must partake in an air leakage test as part of the Building Control sign-off process.
Often we will leave air tests until the eleventh hour to give us the best chance of passing; however, what happens when we don’t get the score we need?
So, how can you improve your air test score? You can save yourself the stress of a failed air test score by putting the systems and procedures in place to guarantee you pass your air test first time. And if you don’t pass, there are simple tweaks you can make.
We’ve created a 10-step checklist to help you improve your air test score so that you can pass your air leakage test with ease. These steps include:
- Avoiding gaps
- Eliminating service penetrations
- Sealing the skirting
- Test trap door seals
- Finalising electrical fittings
- Finalising plumbing fittings
- Checking concealed areas
- Check the rubber seals on windows and doors
- Look at your suspended ceilings
- Sign off the building envelope
Read on to find out more.
What is an air leakage test?
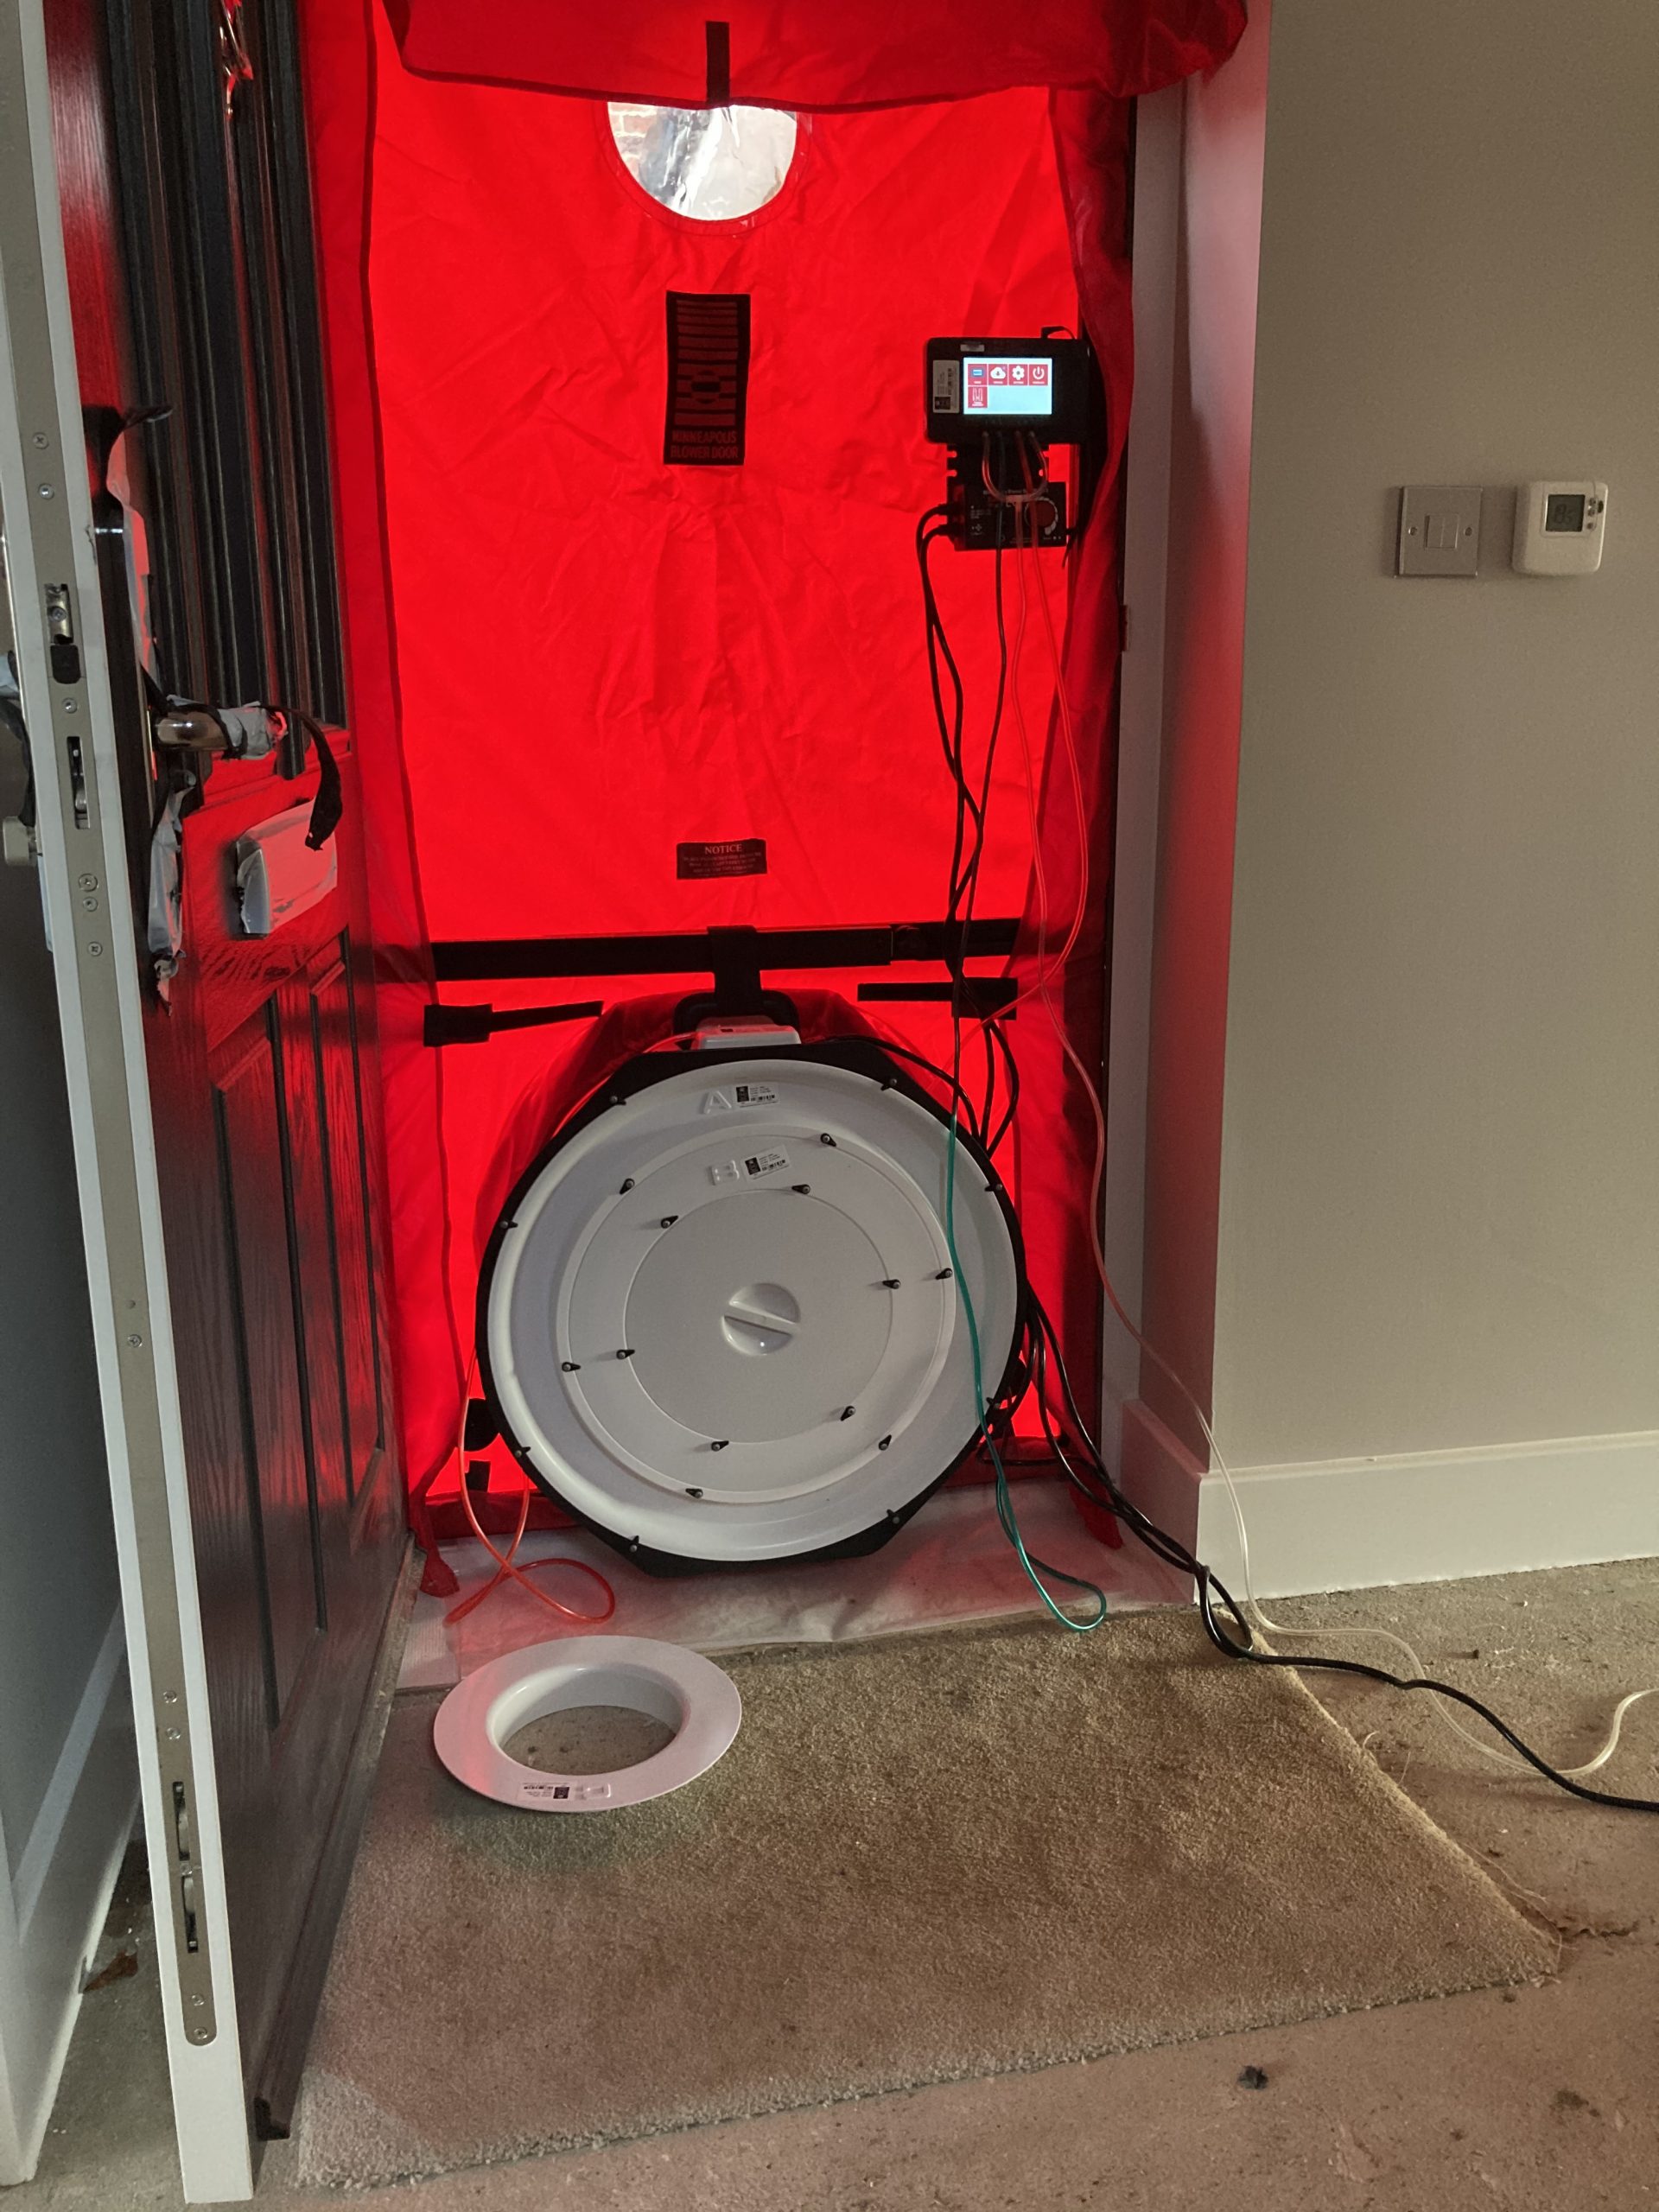
Air Leakage Testing – sometimes referred to as Air Tightness Testing or Air Pressure Testing – measures the total air lost due to gaps and leaks in the fabric of a building.
It’s a crucial energy efficiency marker – and a key way to show how comfortable a dwelling will be, as air leakage can be responsible for:
- Unwanted heat loss
- An uncomfortable living environment
- Higher heating bills
- Greater CO2 emissions
It’s been a major feature of Building Regulations in England and Wales since 2006; it’s a process that simply cannot be ignored.
Are there any exceptions for who needs to take an air leakage test?
Yes – there are a handful of buildings (such as agricultural buildings) that are exempt from Building Regulations entirely. Buildings that have a planned time of use of less than two years are also exempt from energy efficiency requirements.
For non-dwellings, other exceptions include:
- Buildings under 500m2
- Factory-made modular buildings where a regime of type testing has previously been carried out
- Large extensions where sealing off the extension from the existing building would be difficult/impossible
- Complex buildings where the airtightness testing would be impractical (for example, airport terminals)
- Compartmentalised buildings that cannot be tested as one single entity
For dwellings, if a whole development is being built then only a sample needs to be tested. You can take a look at Approved Document L1A for the full rules on this.
How can I improve my air test score?
Avoiding gaps
The number one point to keep in mind for your air leakage test is that it’s all about avoiding the gaps. In a nutshell, if you are able to avoid gaps in the design and gaps between components, you can pretty much expect a good air tightness result.
It’s important to keep this at the forefront of all plans and activity from beginning to end – that way, you can ensure air tightness is considered at every stage of the construction process.
Eliminating service penetrations
Air leakage typically occurs at penetration points which are left unsealed in the building fabric. So, get rid of them as much as possible.
Work your way through the build and design and consider all of your service penetration points (for example, light fittings, gas pipes etc) and see how many of them you can cut entirely.
Sealing the skirting
Be sure that all floors are well sealed at their junction with the wall, and that the skirting running through each room is sufficiently sealed.
It’s worth being extra vigilant in the kitchen, as there is a high possibility that skirting won’t have been fitted properly – if at all – around the kitchen units at floor level.
Test trap door seals
Leakage commonly occurs through ceilings into a cold roof loft, so we always recommend testing seals around trap doors or, alternatively, integrating an airtight loft hatch.
Finalising electrical fittings
Your electrical fittings should be fully fitted before taking your air test. This includes having everything screwed into place and adding a perimeter seal on electrical boxes.
Finalising plumbing fittings
Similarly, make sure that plumbing works are at the final fitting stage. When it comes to the air test day, ensure all water is turned on and that any traps to waste pipes are filled with water.
Checking concealed areas
As a general rule, less attention is often given to areas that will be concealed once the dwelling is occupied. However, this puts your air test score at risk. Give these spaces – which could include behind kitchen units, baths, residential units and storage areas – the same care as any other visible area in the property.
Check the rubber seals on windows and doors
You need to draught-proof windows and external doors: do this by ensuring all rubber seals are fitted tightly and during construction. While you’re there, take a look at any gaps around these spaces and fill them if necessary.
Look at your suspended ceilings
You can assume that any suspended ceilings will be lacking when it comes to their airtightness; if so, you will need to add an air tightness layer above the suspended ceiling.
Sign off the building envelope
Finally – and perhaps most obvious of all – be sure that the entire building envelope is impermeable to air. Internal air barriers must be continuous, robust and air tight; external air barriers should also be wind-tight.
Can Buildpass help me improve my air test score?
Absolutely – this is what we do!
Get in touch with a member of our friendly team to find out more about our air leakage services and how we can help you on your next building project.


